Showing posts with label Davenport Tea. Show all posts

Tuesday, March 12, 2013

Back in the saddle, baby!


So were you wondering what happened to that whole Sew Fortnightly Challenge? Yeaaaaaaah. Let's take a page from The Bloggess and pretend that didn't happen, okay? Maybe I'll catch up, maybe I won't but I'm here now and I have a tutorial to share, awesomesauce, yes?

This would be my first real, live tutorial so try not to laugh too hard if it's sucks. Also feel free to ask questions in the comments if it sucks so hard you can't tell what I'm talking about. Please and thank you.

Now maybe you're curious why I decided to make a morning cap . . . although I suppose I should start with the definition of a morning cap. In short, it's the flouffy thing (which is totally a word) that women of various eras wore on their heads to protect their hair from dirt, sometimes denote marital status, and usually drop hints to the personality, social status, and income of the wearer. If you were say, a farmer's wife out in the country, your morning cap would be a simple affair likely made of linen or cotton. It would need to hold up to frequent washings and you wouldn't want it to get in the way of keeping your home or wrangling your passel of children.


But if you are a silly woman, far more concerned with laying about and feeding your passel of overindulged yorkies scraps from the table or flapping about trying to marry off your passel of pretty but penniless daughters, you might done something far daintier.


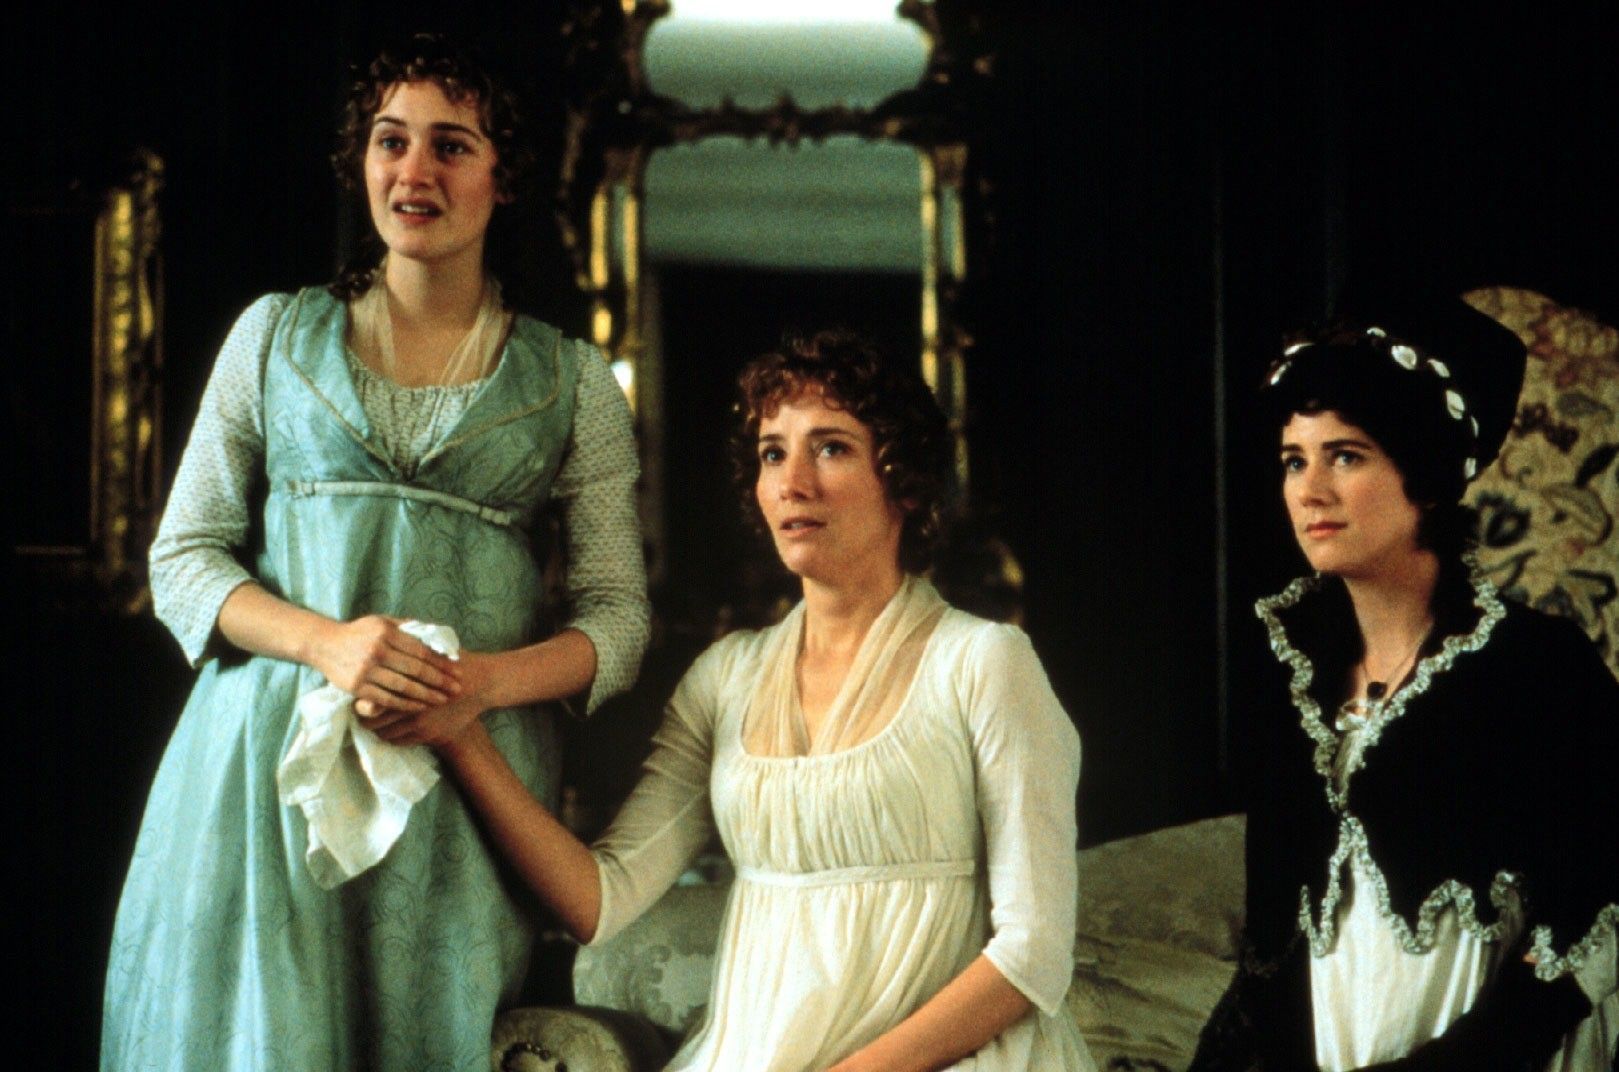
Personally, I wanted something towards the mid range, something pretty and dainty but fairly simple and easy care. So I modeled my morning cap after the obnoxiously snobbish Mrs. Norris from the version of Mansfield Park.


Because I am a cheap heifer who already has more patterns than I need, I thought I could find a tutorial to help. Unfortunately, I found a lot of morning caps but precious few instructions, just suggestions for a few different patterns to try. I did find an excellent starting point however, in Sarah Jane's Regency inspired Classic Cap. There was no ruffle and it seemed quite a bit smaller than I wanted but the overall shape was on target. I printed out the crown, fudged a new brim and gave it a go with an old sheet and a basting stitch. Here was the first result.


Very cute, if I do say so myself but much too tiny and too renaissance for a regency impression. I fiddled a bit more by enlarging the crown, and working out the back closure part. My second effort was much more promising and pretty close to my end goal.


Before you can make your bonnet, you'll need to make your pattern and you'll need Sarah Jane's crown piece to help. First, measure the crown of your head ear to ear, about where you want the bottom of your cap to hit. I went for just behind the curve of my ears which was about 18 inches. I added an inch to account for the seam allowances and then cut a strip of fabric 19 x 3.5 inches. Now I wanted my cap to have a bit of a curve around the ears so I laid the strip in half and used my french curve mark what I hoped would be an elegant little swoop, reducing the ends to just about 2 inches.


This is your brim piece. Go ahead and cut two, press them very well.


To make the ruffle, you'll need to measure along the rounded edge of your brim. For the look I achieved, you'll want to multiply that number by 1.5 and add another inch for the seam allowance. Curving the brim will extend the length so don't just use the 19 inches you tore previously. I can't remember what my number was but we'll say 21. So 21 x 1.5 - 1 = 32.5. I wanted my finished ruffle to be about two inches deep so I added half an inch to that number to accommodate the seam allowance on the crown edge and then another quarter of an inch to accommodate the bit I'd lost in joining the lace to the ruffle. That left me with a ruffle piece 32 1/2 in long and 2 3/4 wide. Press with a bit of starch and set aside.


Next comes the cap. Take Sarah Jane's crown piece and lay it on the fold where indicated and lay the remaining flat side against the selvage if possible. If you don't have a selvage edge, you'll want to set the piece back about 3/8inch from the cut side so that you have enough to fold over to make a nice, finished edge. Her crown piece was much too small so I set the pieces back even further from both the fold and the selvage/cut edge to give myself more fullness, a full four and a half inches back from the fold and 2 and 5/8ths back from the selvage/cut edge. If your hair is a decent length, you'll want to add even more fullness to accommodate a regency top knot.

You'll want to round out your edges, as you can see at the bottom and the top left of my picture to give you a nice rounded point. Then you'll want to cut out a little square notch to accommodate your drawstring. As I'm using 1/4 inch ribbon, I'll need to create a channel to fit. I cut a 5/8 of an inch out of mine.


Give everything one last press, working out all the creases. Now you're ready to begin.


To make a basic cap, you'll need about 1/3 of a yard of fabric and half a yard of 1/4in ribbon. I used a swiss dot which is wonderfully lightweight and a touch fancier than a plain weave and a poly-satin ribbon. The swiss dot is from  Hancock's and the ribbon from Farmhouse Fabrics. I also used about a yard of narrow ribbon along the edge of my ruffle as well as about a yard of one inch wide poly satin ribbon on top. Of course, you can add different bits of this and that to your bonnet as you see fit.

We'll start with the ruffle first. To attach the lace, you're going to use a very narrow zig zag stitch. I set my stitch width to 2.5mm and my length to 1.0. Pin the lace onto the right side of the fabric, about four threads from the edge. Then slowly stitch so that the zig is on the lace and the zag is just off the fabric. As you sew, the bit of fabric left will fold over the tiny lace edge. 


You'll be left with some whispies but those are easily trimmed. Press your lace edge outwards, your tiny seam towards the fabric.


Fold over your short ends twice, enclosing the raw edges and sew a narrow hem on either side of your ruffle.


Leaving the threads long, put in two rows of basting stitches on the free edge and gather the ruffle up to fit the rounded edge of one of your brim pieces with each edge stopping about half an inch short of the brim edges.


Lay your second brim piece on top, wrong sides together, sandwiching the ruffles between the two brim pieces. Starting at the short end of your brim, stitch, keeping the ruffle free before turning the corner and stitching the ruffle to the curved edge.


Trim your corners and turn your ruffle out, pressing everything neatly.


Before you're ready to attach the crown, you'll need to fold up the straight edge of the crown and create a channel for your drawstring. To do that (and I apologize for not snapping a picture) you'll need to fold over that notched edge and sew two lines of stitching about wide enough to accommodate your ribbon. If you didn't use a selvage edge, you'll need to first fold over your fabric about 3/8ths of an inch and press. Here's a picture of kind of give you an idea if what I've said makes no sense.


Sew two rows of basting stitches in the crown. We're going to do a French seam here to neatly enclose all your edges so you'll need gather the crown of your cap and pin it wrong sides together to brim's straight edge. You'll want to have more fullness at the center of the brim than the sides to avoid the deflated look you see in my early muslins. 


Trim your raw edge to an quarter of an inch. I know it's close and I know it's painful but you can do it. Turn the seam over and sew with a half inch seam, enclosing the tiny raw edge.


I used a 7 yarn darner needle to thread my ribbon through the channel but you could use a bodkin or a very narrow safety pin. Draw up and tie in a bow. Tie the wider ribbon about the brim of your new creation.

And that's it. You now have a cute little morning cap to keep your curls and ribbons in place and frame your face prettily should the that aloof gentleman up the hill stop by for a visit.

I think I'll be gifting this one to pinky as, I never though I would say this, but I think I could use a bit more fullness in my ruffle. 

Here's Jane Austen in her quite ruffly morning cap and chemisette.


And now for the Sew Fortnightly recap:

The Challenge: Peasants and Pioneers 

Fabric: cotton swiss dot

Pattern: self drafted

Year: appx 1810ish

Notions: 50 wt DMC broder thread, 60 needle, half a yard of 1/4 inch ribbon, a yard of one inch ribbon, one yard of narrow lace

How historically accurate is it? It matches up pretty well with the different examples I've seen hither and yon but I can't vouch for the fabric content of the lace. It came from walmart and it has a wee but of a shine to it so I'm going to assume poly or nylon blend of some sort.

Hours to complete: about two hours total

First worn: Aside from prancing about the house, not yet

Total cost: about $5


Monday, January 7, 2013

I dream of aqua


and sea glass and mint green and teal and turquoise and anything in that family. I even talked mr man into a seafoam couch back in the early days of our relationship when all I had to do was smile pretty to win an argument. Color selection was the easy part. It's everything else that's a bit of a bear to decide. 1820, the year the Davenport House was completed was something of a hinky middle ground both for fashion.


Nearly everyone is familiar with the two differing silhouettes of the early 19th century even if only by sight. The first was the Regency Era, the era when Mad King George was beginning to lose his marbles and the people were seeing the wisdom of currying favor with the Prince Regency, or Prinny if you're a fan of regency era bodice rippers. If ever a bosom should be heaving, it would be in this era when the undergarments of the era were designed not just to lift and separate as the modern eye favors but to the extreme of putting one's ::ahem:: assets on a pronounced shelf. This is the era most often portrayed in Jane Austen adaptation. The 1995 version of Sense and Sensibility is a case study in turn of the century fashion with most of the costuming set firmly around 1795, a full 25 years earlier than the completion of the Davenport House. 


The second era is the Victorian Era, named after none other than Queen Victoria of England. Most of us know her as an old fashioned, stooped over and stout woman draped entirely in black, she wasn't always that way. Victoria was never considered a beauty, but she was quite fashionable back in her day, even if her mama wouldn't let her walk up the staircase by her lonesome. The early Victorian era starts with the beginning of her reign in 1837 and features a more reasonable waistline, full, sumptuous skirts, and lots of fripperies around the shoulders.


Not quite right for 1820 either. 


There was also the lesser known Romantic Era, which doesn't even rate an honorable mention on Wikipedia. How you like dem apples? Did you ever watch Doctor Dolittle as a kid? Not that hot mess crap with Eddie "screw comedy, I need a paycheck" Murphy but the old school original awesomeness that I watched until my little heart burst featuring Rex Harrison and Samantha Eggar whom I loved solely for her name. (Did you know she was on Star Trek TNG? Yeah, I didn't know that either. Be still my slightly geeky heart.)


The Romantic Era is probably best forgotten as it involves some of the most exaggerated silhouettes since panniers were in fashion. Huge skirts, monsterous shoulders, and hats you use to carry a week's worth of groceries inside. I mean look at that awful dijon mustardy looking thing on poor Samantha Eggar's head? But don't you worry your or rather, my pretty little head. The Romantic Era is just a sketch too late for the Davenport house as well. Trust me, no one is more relieved than I, even if I do like a ridiculous bonnet.


If you want the most accurate depiction of Regency Era fashions, there's really nothing better than Ackermann's Repository. The British periodical, printed from 1809 - 1829 pretty much covered every topic of the day. Politics, society gossip, the latest literary releases, and, of primary interest to the ladies, fashion. So I lost myself on google and pinterest for hours on end looking for the perfect inspiration. (If you scroll down, you'll find links to other years and issues.) I started in about 1817 and flipped around until I found a year where one's waistline wasn't somewhere around the nipples.


1823 was kind of a meh year for history. Britain did some prison reform, central America decided it was tired of Spain's crap, and Pope Pius VII kicked the bucket. But it seems to be a fabulous year for fashion as evidenced here. I think the pink is my favorite. What distinguishes the 1820s from earlier regency fashions isn't just the lowered waist but also the heavily decorated sleeves and hems. Is flouffy a technical term? What about flouncy? I don't know. What I do know is I can do this. Now let's get back to the color scheme. How exactly did I want to work aqua/seafoam/sage into the mix? And while I was ruminating on that over some celeb gossip, I struck gold.


Yes, it's a doll outfit. How about you shut it? It's beautiful. It's gorgeous. It's the color scheme I wish I could do in my living room and it's perfection. It was created by Sugarloaf Doll Clothes over on etsy but is alas, sold out because I'm not the only one who thought this divine. Check out her other work.

I haven't quite settled on all the details as I can't decide between a beautiful warmish mint linen I recently bought on sale from Fabric Mart after Christmas or if I want to pick up a beautiful vintage sari and thus, save myself some of the embroidery necessary to reproduce an elaborate hem. I also haven't decided on a pattern yet as there aren't any that are accurate for those years. I'll have to figure out what will be easiest to adjust and work from there, something I can't do until I've fitted my stays. So stay tuned.

Why yes, there will be a bonnet involved.


I can hardly contain my excitement, even if I will end up looking like a walking pint of mint chocolate chip icing.

In the meantime, if you don't have endless hours to putter around on the internet, do not visit this site or this one here

You people never listen.


Saturday, January 5, 2013

I really couldn't wait


I wasn't planning to share this until they were finished but look, I'm peeing myself with excitement here. When I decided to make pinky a set of stays, I just knew it was going to be an ordeal. See, as you all know, I sew. What I don't do is jack with patterns or do a lot of fitting adjustment. I might lower a waistline, raise a hem, but by and large, I cut and sew a pattern as is out of the envelope. If it needs adjusting, that bad boy isn't going to be made. However, just you try finding a pattern for a set of little girls' stays. I can find some patterns for little girl corsets in the Victorian and Edwardian eras, but no regency stays. (And yes, they wore them.)

Click here for more info
on these late 18th century stays

I'd almost decided not to make them at all but, in keeping with my personal pledge to take more care with my sewing, I decided, hey, why not? I ordered the S&S regency underthings pattern while it was on sale at the end of the year. I'm sure there's some rational method of mathlike figuring that would tell you exactly how much you would need to size down a woman's pattern, but you know what? I don't do that. So I randomly decided 60% sounded like a good idea and carried on with my bad self.

Pattern in hand, I gave it a good stare down and decided the size 20 looked pinkyish. And it did. I copied the pieces onto quilter's grid, cut them out, and gave them a quick basting on the girl child. Other than the strap being too short and about half an inch off shape-wise, it was a near perfect fit.


As you can see, there's a gap between the strap and the back bodice piece.


I used a french curve, or rather what's left of my broken french curve, damned dog, to connect the shoulder strap and draw a new, almost as graceful line down to the back bodice pieces.  Then I pinned it back onto pinky to see how it turned out. If you notice, I pinned the stays on top of a tee shirt because unlike modern clothing, ladies of the era wore their support garments on top of a shift. The theory was that the cotton or linen of the chemise would absorb sweat and little girl stink so that mom could do less laundry.


The strap in this picture is still a bit long and doesn't quite match up but I fixed it and now have my pieces all ready to be cut out of muslin. If you'll look at the top picture again, you'll notice those two lines on the top. That's supposed to be where the gussets go. What are gussets you ask?


From the Oregon Regency Society
aka my current best friend

Yeah, the pinkster doesn't need any gussets.While pinky would probably love me for life if I allowed her to stuff her gussets as ladies were wont to do in the era, her father would kill us all dead. Plus, she's nine. What does she need with . . . gussets? And that's what I've been trying to tell her for months. That stinker.

Since we're talking about short stays, let's look at some pretty reproductions other bloggers have made.

from Sarah Jane at Romantic History

from Amber Brooks at Music, Corsets, and Star Wars


Friday, January 4, 2013

I'm late, I'm late


The week does not end until tomorrow night, yes??

Therefore, I still have at least 24 hours before I'm in a rabbit stew regarding my self imposed one Simple Sewing Challenge, right?

Right.

It would be done already if my stays pattern hadn't come in the mail and set my little heart aflutter. I've already traced off the pattern and cut out my muslin.


I should probably do that post about my Davenport ensemble sometime soon, huh? And I still haven't located the fabric for pinky's dress, which has to be done this weekend, the fabric locating I mean as I intend to present it as my next Sew Fortnightly Challenge. I ordered up a yard of silk batiste, some voile for the fichu, and batiste for the lining and petticoat. As soon as it all arrives, I promise to provide pictures.

ARE YOU HAPPY, BEAR ALLEN???

She knows I love her.


Wednesday, January 2, 2013

Tea at the Davenport Part Pinky


Don't ever ask pinky what kind of dress she wants. The answer will always be something Barbie threw up after a night of drinking tequila rose and pepto bismol after throwing a frat party at the dream house. Then you'll have to deal with the hemming, the hawing, the exasperated sighs as you try to take her down from the pink bubblegum nightmare cliff.

No, the best approach is to give her a starting point and say, do you want a dress like this. It helps if your starting point is somewhere close to where you'd like to be. Lucky for me, pinky's little heart lit up like the ghetto firecrackers my neighbors were setting off at three in the morning last night. (Yes, last night and no, I don't live in some alien world where New Year's eve came a day late.)

And the winner is . . . that sweet, adorable little yellow dress on the left with the lavender sash.

Beautiful, am I right? It's precious and feminine and frilly without the need to call the paramedics to wake you from a diabetic coma. I happen to be sitting on the perfect yellow shirting. Well, I wish I was sitting on it, then I could provide you with a picture. Instead, it's upstairs or in a box or something. The point it I have it. I also have the perfect pattern. 


I bought both this version and the ladies' counterpart from Sense and Sensibility patterns a few years ago and never did anything with them. I'd like to think they were waiting for the perfect moment, the perfect moment being right now. So yay for kind of free!

Now these patterns are geared towards an earlier impression, 1805ish vs 1820 when the Davenport House was completed but the changes are slight and will be detailed in a later post. 

The dress itself will be rather easy. Not much fitting involved, four buttons on the back, some sleeves and a pretty hem. But one can't dress regency without the proper underpinnings, even when one is a slight nine year old with long legs. So in addition to the dress itself, I'll need to make the child a chemise, at least one petticoat, and a pair of stays. Yes, stays. Tiny baby corsets. But before you report me to CPS, you should know that we're talking about a garment that's little more than a glorified sports bra, the perfect thing for a hot mess in training who has been begging for a bra since she sprouted stage 2 boobies. (Talk to her American Girls All About Me body book for introducing her to the boob stages of life.)


See? Nothing to be scared of there. Those channels you see are not the hard boning you think of when you hear the word corset. It's cording, aka yarn. She'll even thank me for it, trust. Btw, if you think those are cute, you can read all about them and peruse the website of the really talented woman who made them by clicking here.

After we finish the underthings and the dress, we'll do up the accessories. Pinky is dying for a bonnet. I think we've settled on a purple velveteen bonnet that won't look at all like something Prince was wearing while grinding on Apollonia circa 1987, I swear.


So that's it.

What do you think? Please tell me it won't end up looking like everything that was awesomely bad came down and took up residence on my poor baby's head.


Tuesday, January 1, 2013

More than I can chew


I'm not sure how it happened, but I was puttering around the interwebs as one does when they are avoiding housework and came upon the website for a local museum, The Davenport House. How I've lived here for five years and never heard of the place, I can't quite explain but that's neither here nor there. The point is they have tea, regency era tea or whatever you refer to that period of time as here in the states when we clearly could no longer give two hoots about Georgie's craziness or the other Georgie's hot mess secret marriage or whatever it was he was doing. 

As it also happens, pinky is slightly obsessed with American Girl books. We ordered her the catalog and every time it arrives, she is breathless with excitement, skittering around the house with passive aggressive comments about possibly getting a new one or new outfits for the ones she has, or a bonnet, mommy, I can't have a bonnet, can I? Because I know I can't get the new dolls, right, mommy? Like that. And what about this newest doll?

Her name is Caroline and she is perfection in miss Pinky's little starstruck eyes and really, who can blame her when the little thing comes decked out in full 1812 awesomeness, amiright?


There might have been some Caroline books under the Christmas tree this year and it might have renewed her desperate need for a bonnet. But where on earth does one wear a bonnet circa 2013 (can you believe it's that already? ugh?)

Why, to tea, of course. At a house built in the era and later converted to a museum for the era.

Eureka!!

And so, as I do, I have committed to turning out period appropriate garb and escorting our whole wonderful ensemble down to the Davenport House sometime in March, me, the pinkster, Kirsten, and Samantha, resplendent in little empire waisted beauties.

Just when I was thinking of wavering, wondering what in the hell I'd gotten into, what should my eyes come across but that wonderful challenge from The Dreamstress I mentioned yesterday. Here's a refresher. There's a lovely little facebook group to pepper with all my questions since I've never sewn historical before. I'll try to make as many of the early challenges in regency garb as possible for well, obvious reasons. But after that, I'm considering attempting the Federal era.

Corsets for everyone!

Ahem, I mean stays, of course. They were called stays before circa 1840 or so. I'm not quite sure when it changed to corset but it was after both the Federal and the Regency eras.

So again, pray for me.